Mickey and Minnie Mouse Pinata

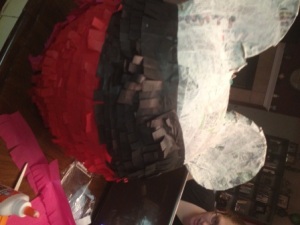
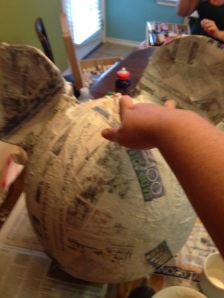
As requested…I finally downloaded my pictures.  I started with a balloon with two plates taped on. I wish I would have taken better pictures.  I used four (4) paper plates and cut one side in order to tape them to the balloon.  I used scotch tape.  It really doesn’t matter what kind of tape you use as you should paper mache over every thing.


I cut strips of news paper using a paper cutter (way faster).  Then applied a flour/water mixture.  For those of you who need a recipe click here.  I used flour and water and mixed it to a soup consistency.  You kind of figure it out.  Dip your news paper strips into the mixture and apply it to the balloon.   I put on a layer, allowed it to dry for a couple of hours (you will be able to tell when it is dry) and then applied another layer.  Be sure to store it in a dry open space.  If it doesn’t dry, it can mold or effect the integrity of the pinata.   You can apply the news paper over the plates to give the pinata a cohesive look.


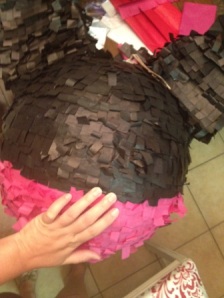
Putting all the layers on took me about 10 days. I wanted a very strong pinata as the pinata was quiet large and I had a lot of children attending the party.   Finally, I cut tissue paper into strips and fringed it (it didn’t take as long as it looks) and I glued the strips onto the pinata.  Be sure to leave a hole (I left one inside one of the ears) to put candy and treats into the pinata.  And also, pop the balloon!


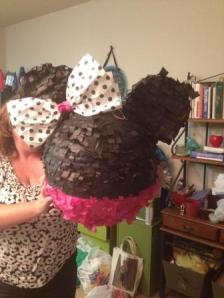
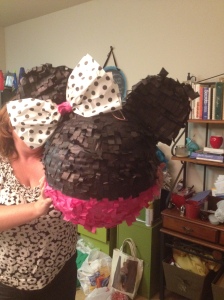
This one was decorated as Mickey Mouse on one side and Minnie mouse on the other as we had a “Minnie/Mickey” party for our four year olds.


Next time I make a pinata, I will incorporate a rope or some type of hanging devise into the structure of the pinata….I didn’t this time.  My husband worked it out but I think it would have lasted longer if I had incorporated the rope into the structure.

Mickey and Minnie Birthday Party

My sister and I threw a Mickey and Minnie Mouse birthday party for my son and her daughter.  Most of our ideas, we stole from Pinterest and made them our own.  Here are some pictures…

One side of the Pinata I made.

It took me two weeks to make, it took a group of 3 to 10 year olds only 7 minutes to take it down.  A five year old was the one who got it down.  Now I know,  I must make it tougher on the top.

This was the other side; the “Minnie” side.

Take away gifts, coloring books and colors.

We lucked out, there were vintage Mickey and Minnie coloring books at the dollar spot at Target this year.  They were perfect!

(I spray painted the bucket thing)

I do have some better pictures on my camera.  I will have to add them later.  These were from my phone.  In any case, we bought a Mickey cookie cutter to do PB&J and turkey, cheese, ham sandwiches but it was too big for our bread.  My sister made stars instead.  They were adorable.

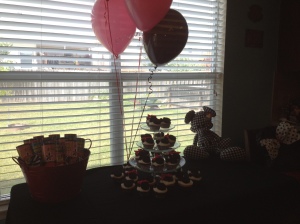
Here is a slightly better picture with the cupcake table.

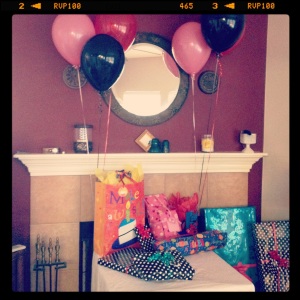
The gift table.

Cupcakes

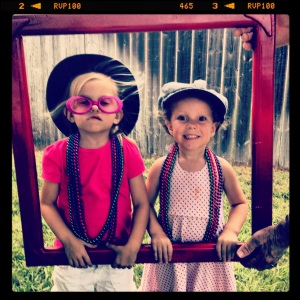
Kids and adults alike had fun with this old frame I found at the thrift shop for $2.  I wasn’t concerned much about the design or condition, I was going for a large square.  Spray painted it red and hung it up with fishing line.  I set a box of beads, sparkly sunglasses and hats out and let the kids have fun with it. We took tons of pictures and eventually it came down but we still held it up and took pictures.  Here are a few.

Me and the Hubs

This was once it came down…more paper pom-poms in the background.

While it was still hanging.

It was hard to keep the little ones from going behind the picture area (even though there was a whole back yard to play in).  So several pictures have background interest.

More pictures to come as soon as I download my camera.  I love instagram and how I can make my pics look vintage.